
Reference- Cohen’s Pathways of Pulp
Reference- Cohen’s Pathways of Pulp
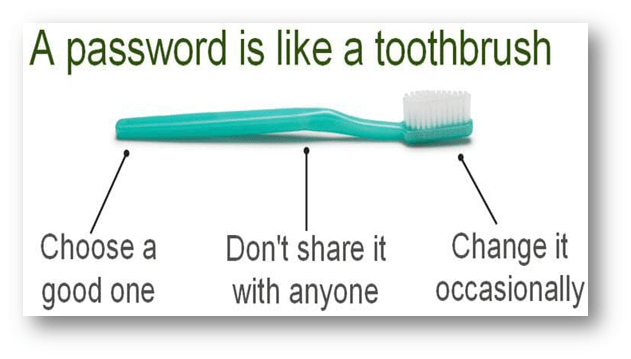
Toothbrushing comprises the most important part of our daily oral hygiene regime. Thus, it becomes very important for us to choose a toothbrush which is comfortable to use as well as functionally efficient.
Nowadays, the market is flooded with different types of brushes, be it manual or electric. This evolvement in the variety of toothbrushes has made it difficult for us to decide upon which toothbrush is best for us.
Here are few practical tips which can help you make the correct choice for your healthy whites-
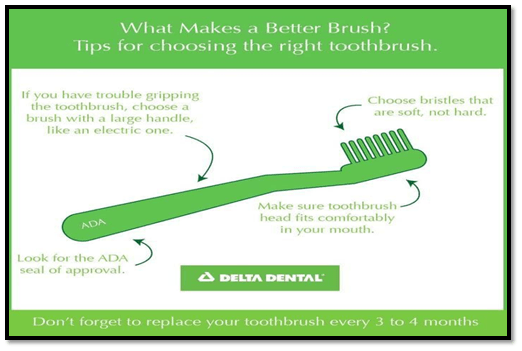
Irrespective of the brush you choose, it is important that you follow the correct brushing technique and brush for atleast 2 minutes to increase the lifespan of your whites.
If you are using a manual brush, it is important to replace it once every 3 months or whenever the brush shows any signs of wear and tear.
So, next time when you are in the supermarket checking out the vast variety of brushes, try to look out for these few things in your brush and you will be able to make the correct choice.
DR. DEVYANI ALLEN
BDS, FRCD

The following is a list of techniques used for gingival augmentation coronal to the recession (root coverage):
Indication:
Adjacent to the denuded root surface, the donor connective tissue is sandwiched between the split flap as shown in the figure.
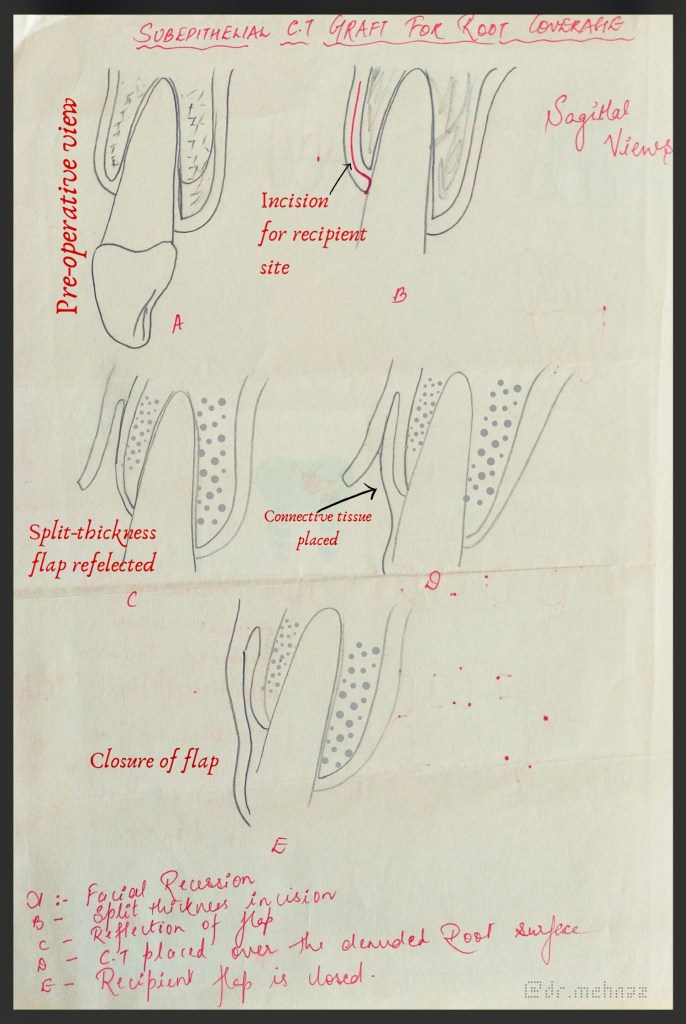

Step 1. Raise a partial-thickness flap with a horizontal incision 2 mm away from the tip of the papilla and two vertical incisions 1 to 2 mm away from the gingival margin of the adjoining teeth.
Step 2. Thoroughly plane the root, reducing its convexity.
Step 3. Obtain a connective tissue graft from the palate by means of a horizontal incision 5 to 6 mm from the gingival margin of molar and premolars. The connective tissue is carefully removed along with all adipose and glandular tissue. The palatal wound is sutured in a primary closure.
Step 4. Place the connective tissue on the denuded root. Suture it with resorbable sutured to the periosteum.
Step 5. Cover the graft with the outer portion of the partial-thickness flap and suture it interdentally.
Step 6. Cover the area with dry foil and surgical pack.
After 7 days, the dressing and sutures are removed. The esthetics are favorable with this technique since the donor tissue is connective tissue.
Dentowesome|@drmehnaz
Source: Carranza’s Clinical Periodontolgy, 10th Ed
Reference- Davidson’s Principles & Practice Of Medicine
Reference Pulse edition 14
Reference Pulse edition 14

Reference Pulse edition 14

Reference Pulse edition 14


Reference: Dental Pulse 14th Edition
Dr Sanjana Agrawal
