


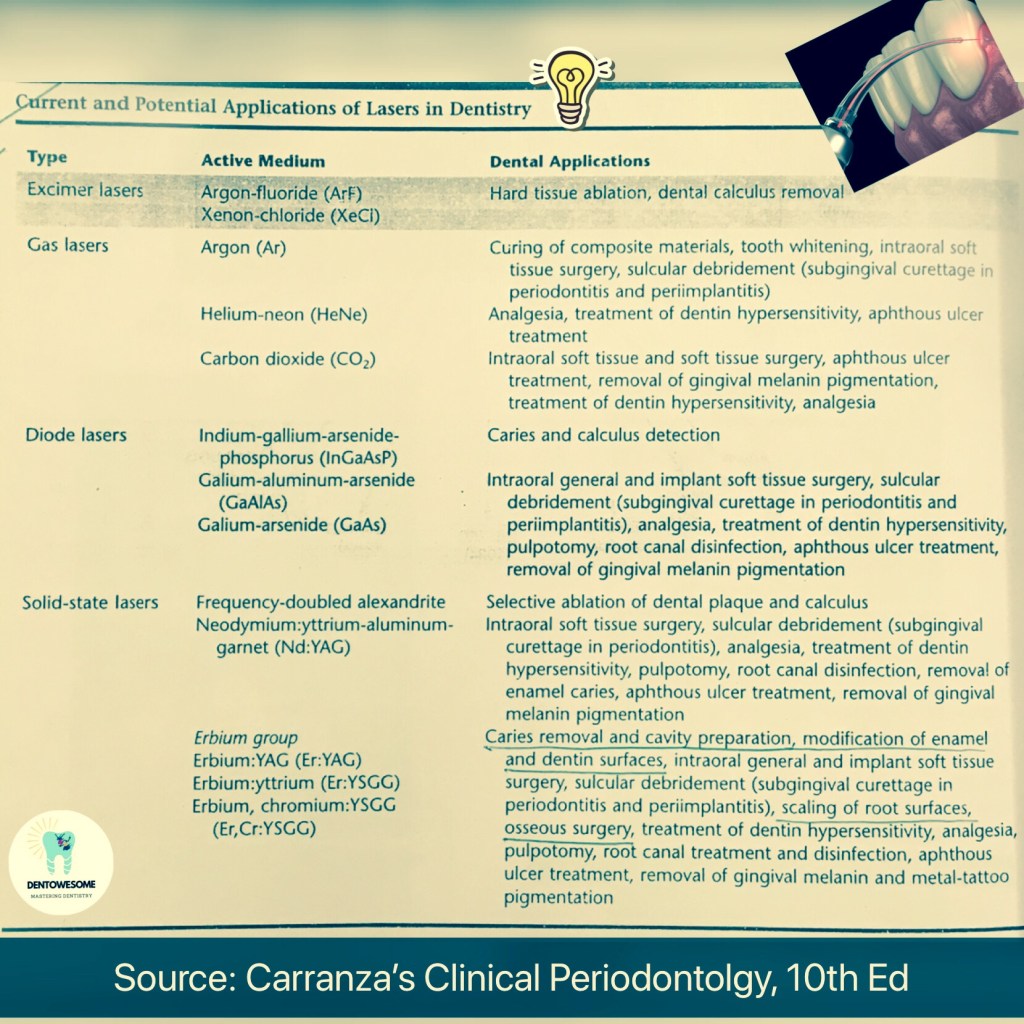
Source: Carranza’s Clinical Periodontolgy, 10th Ed; slideshare.net


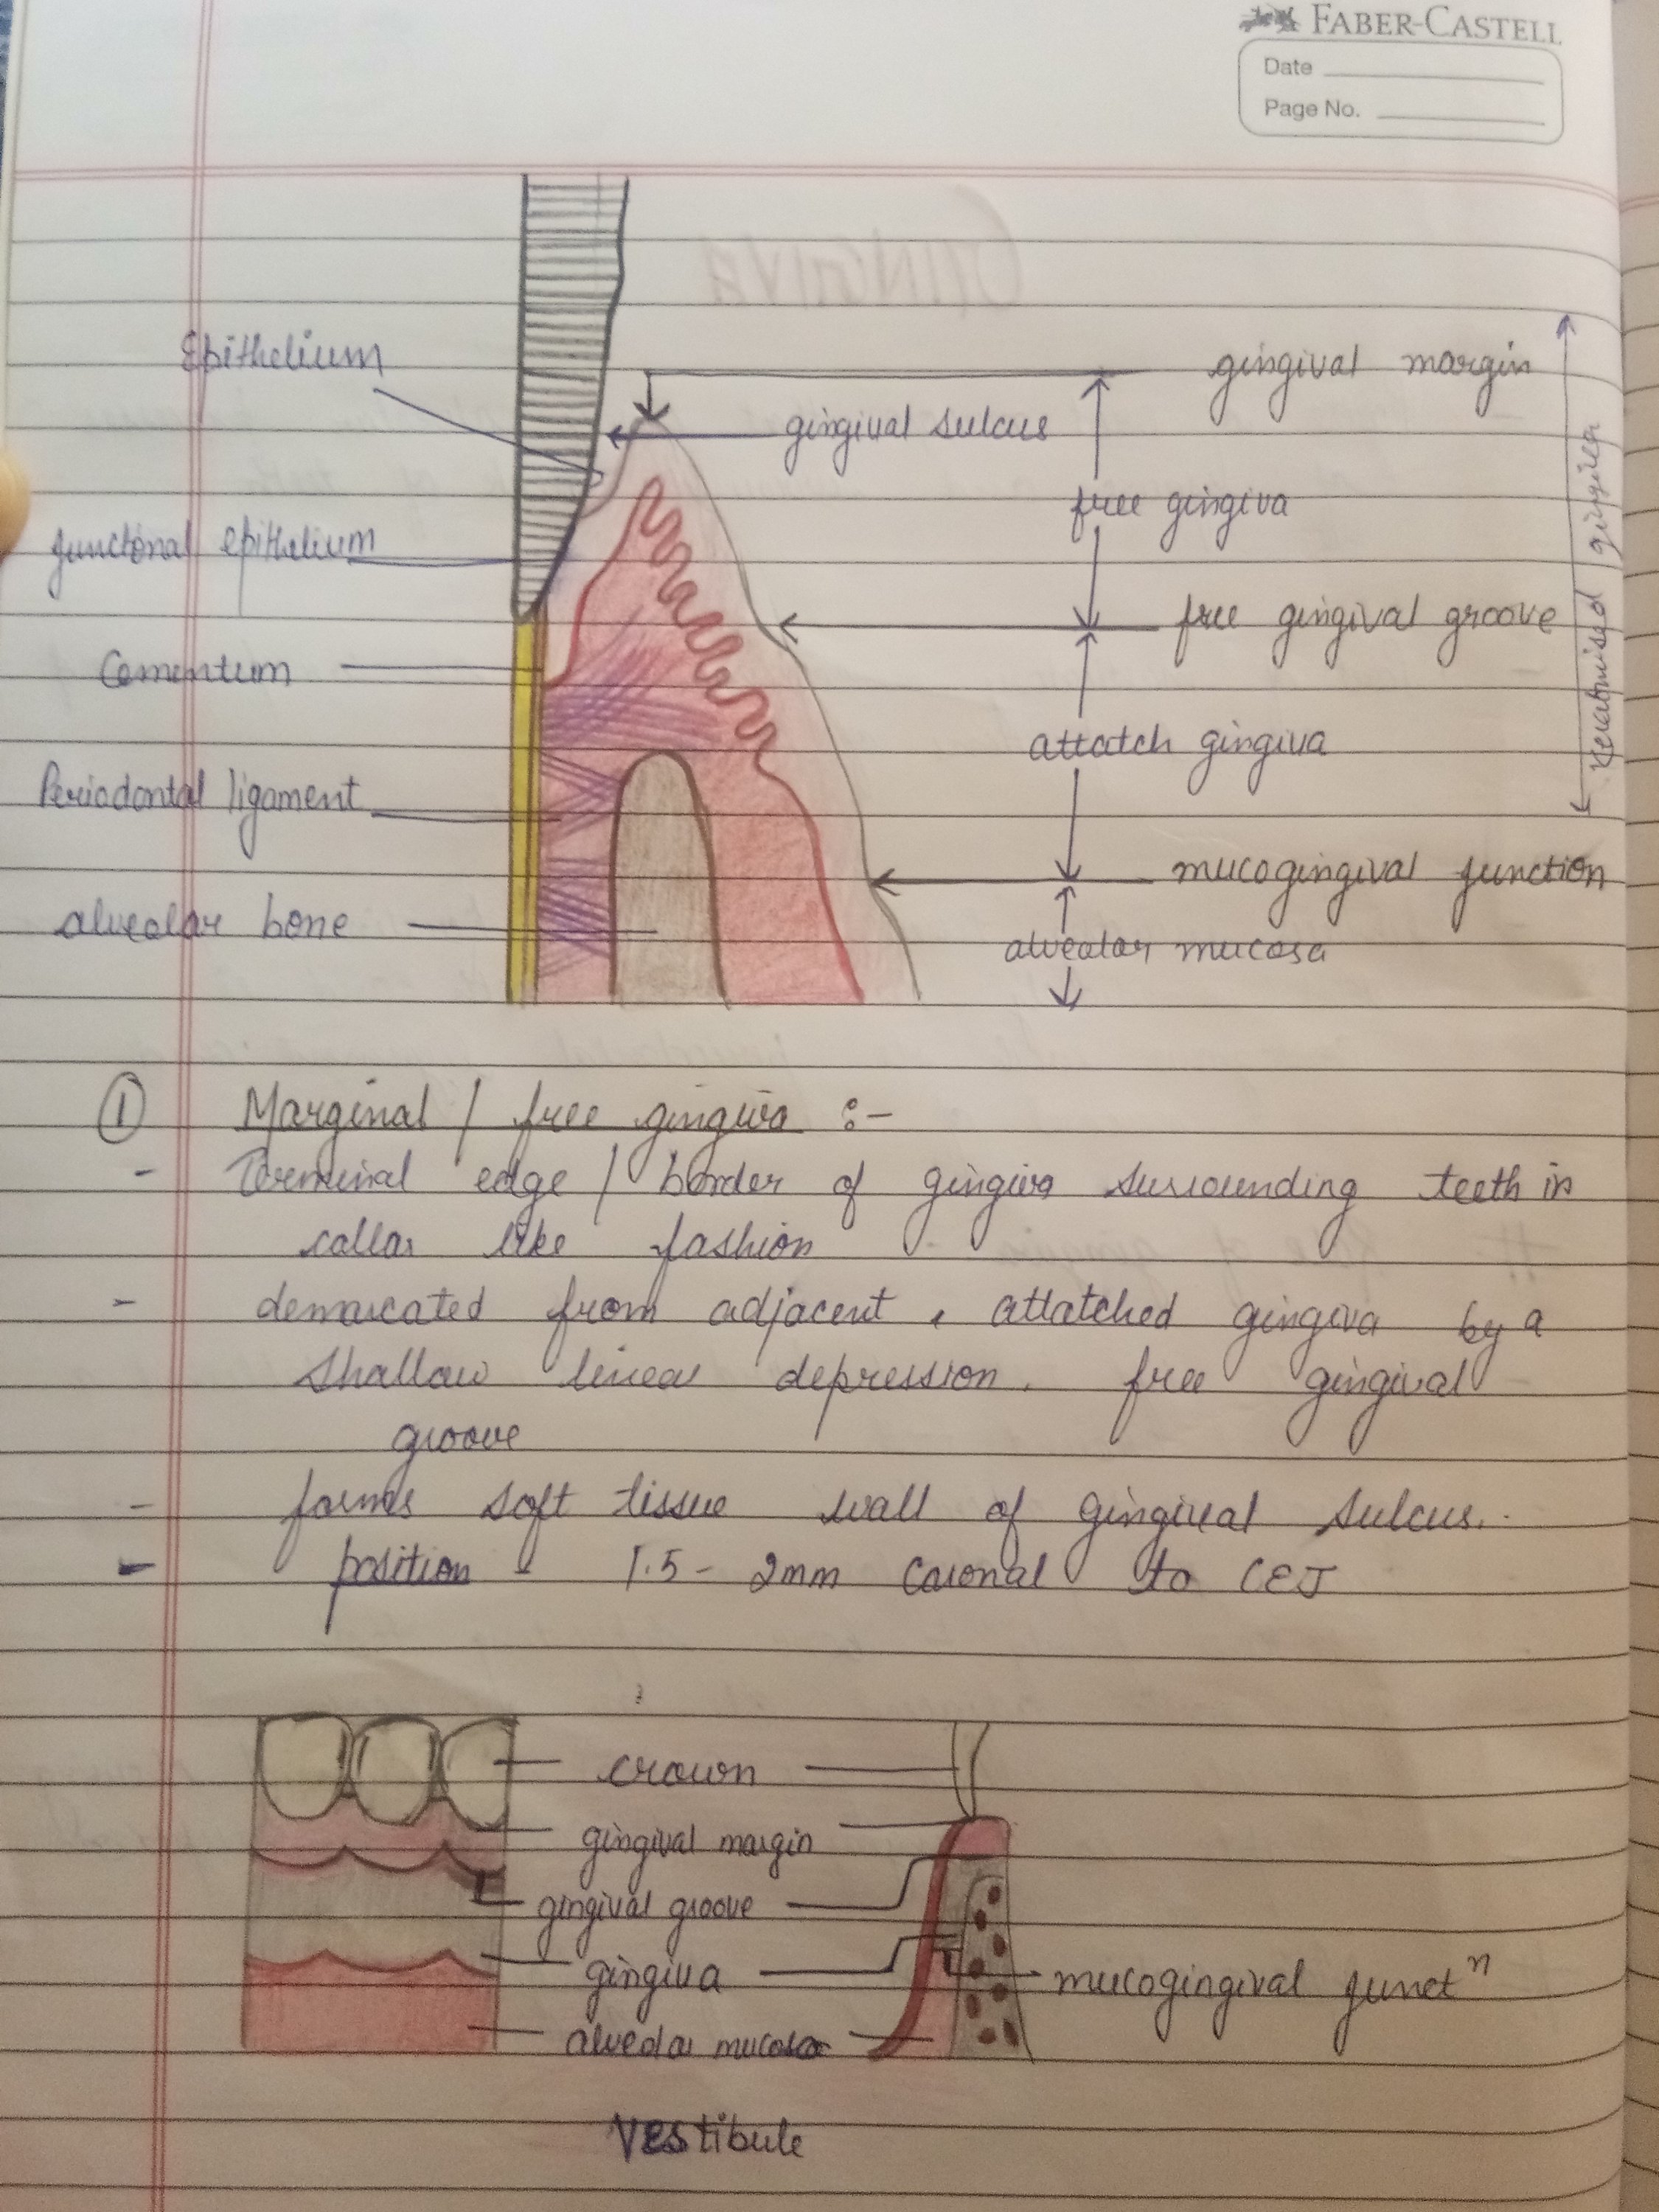
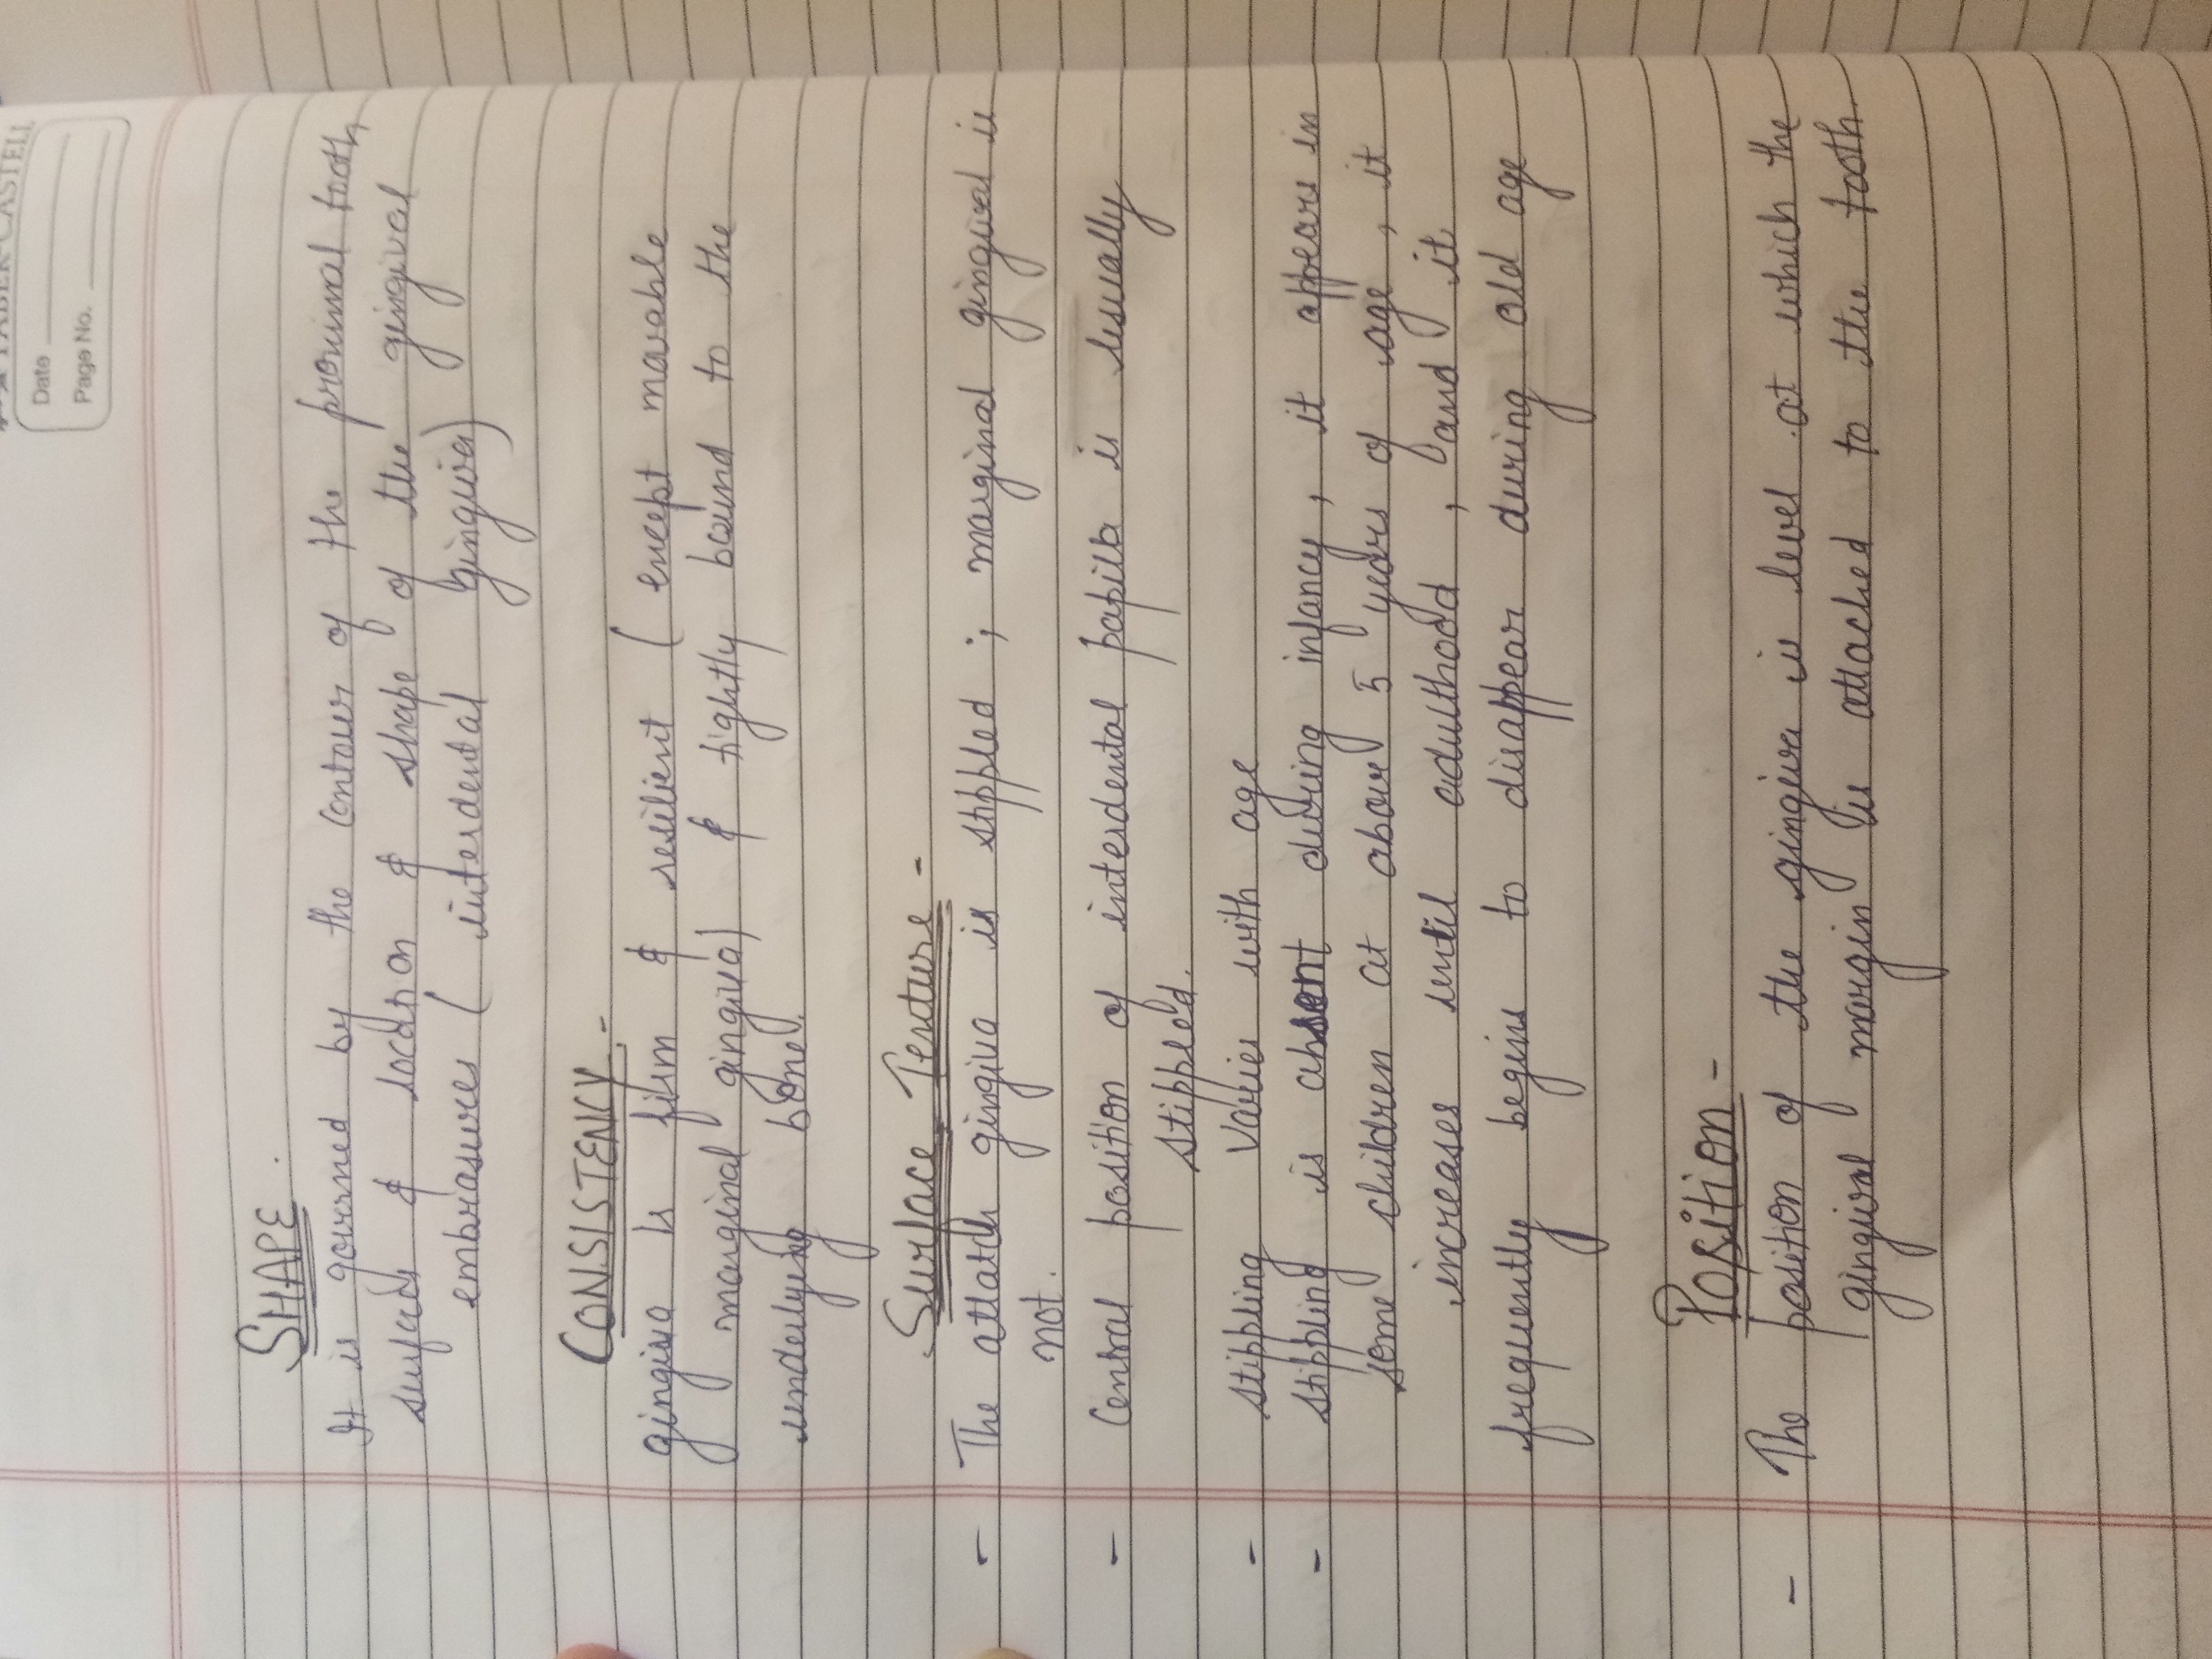
gingiva
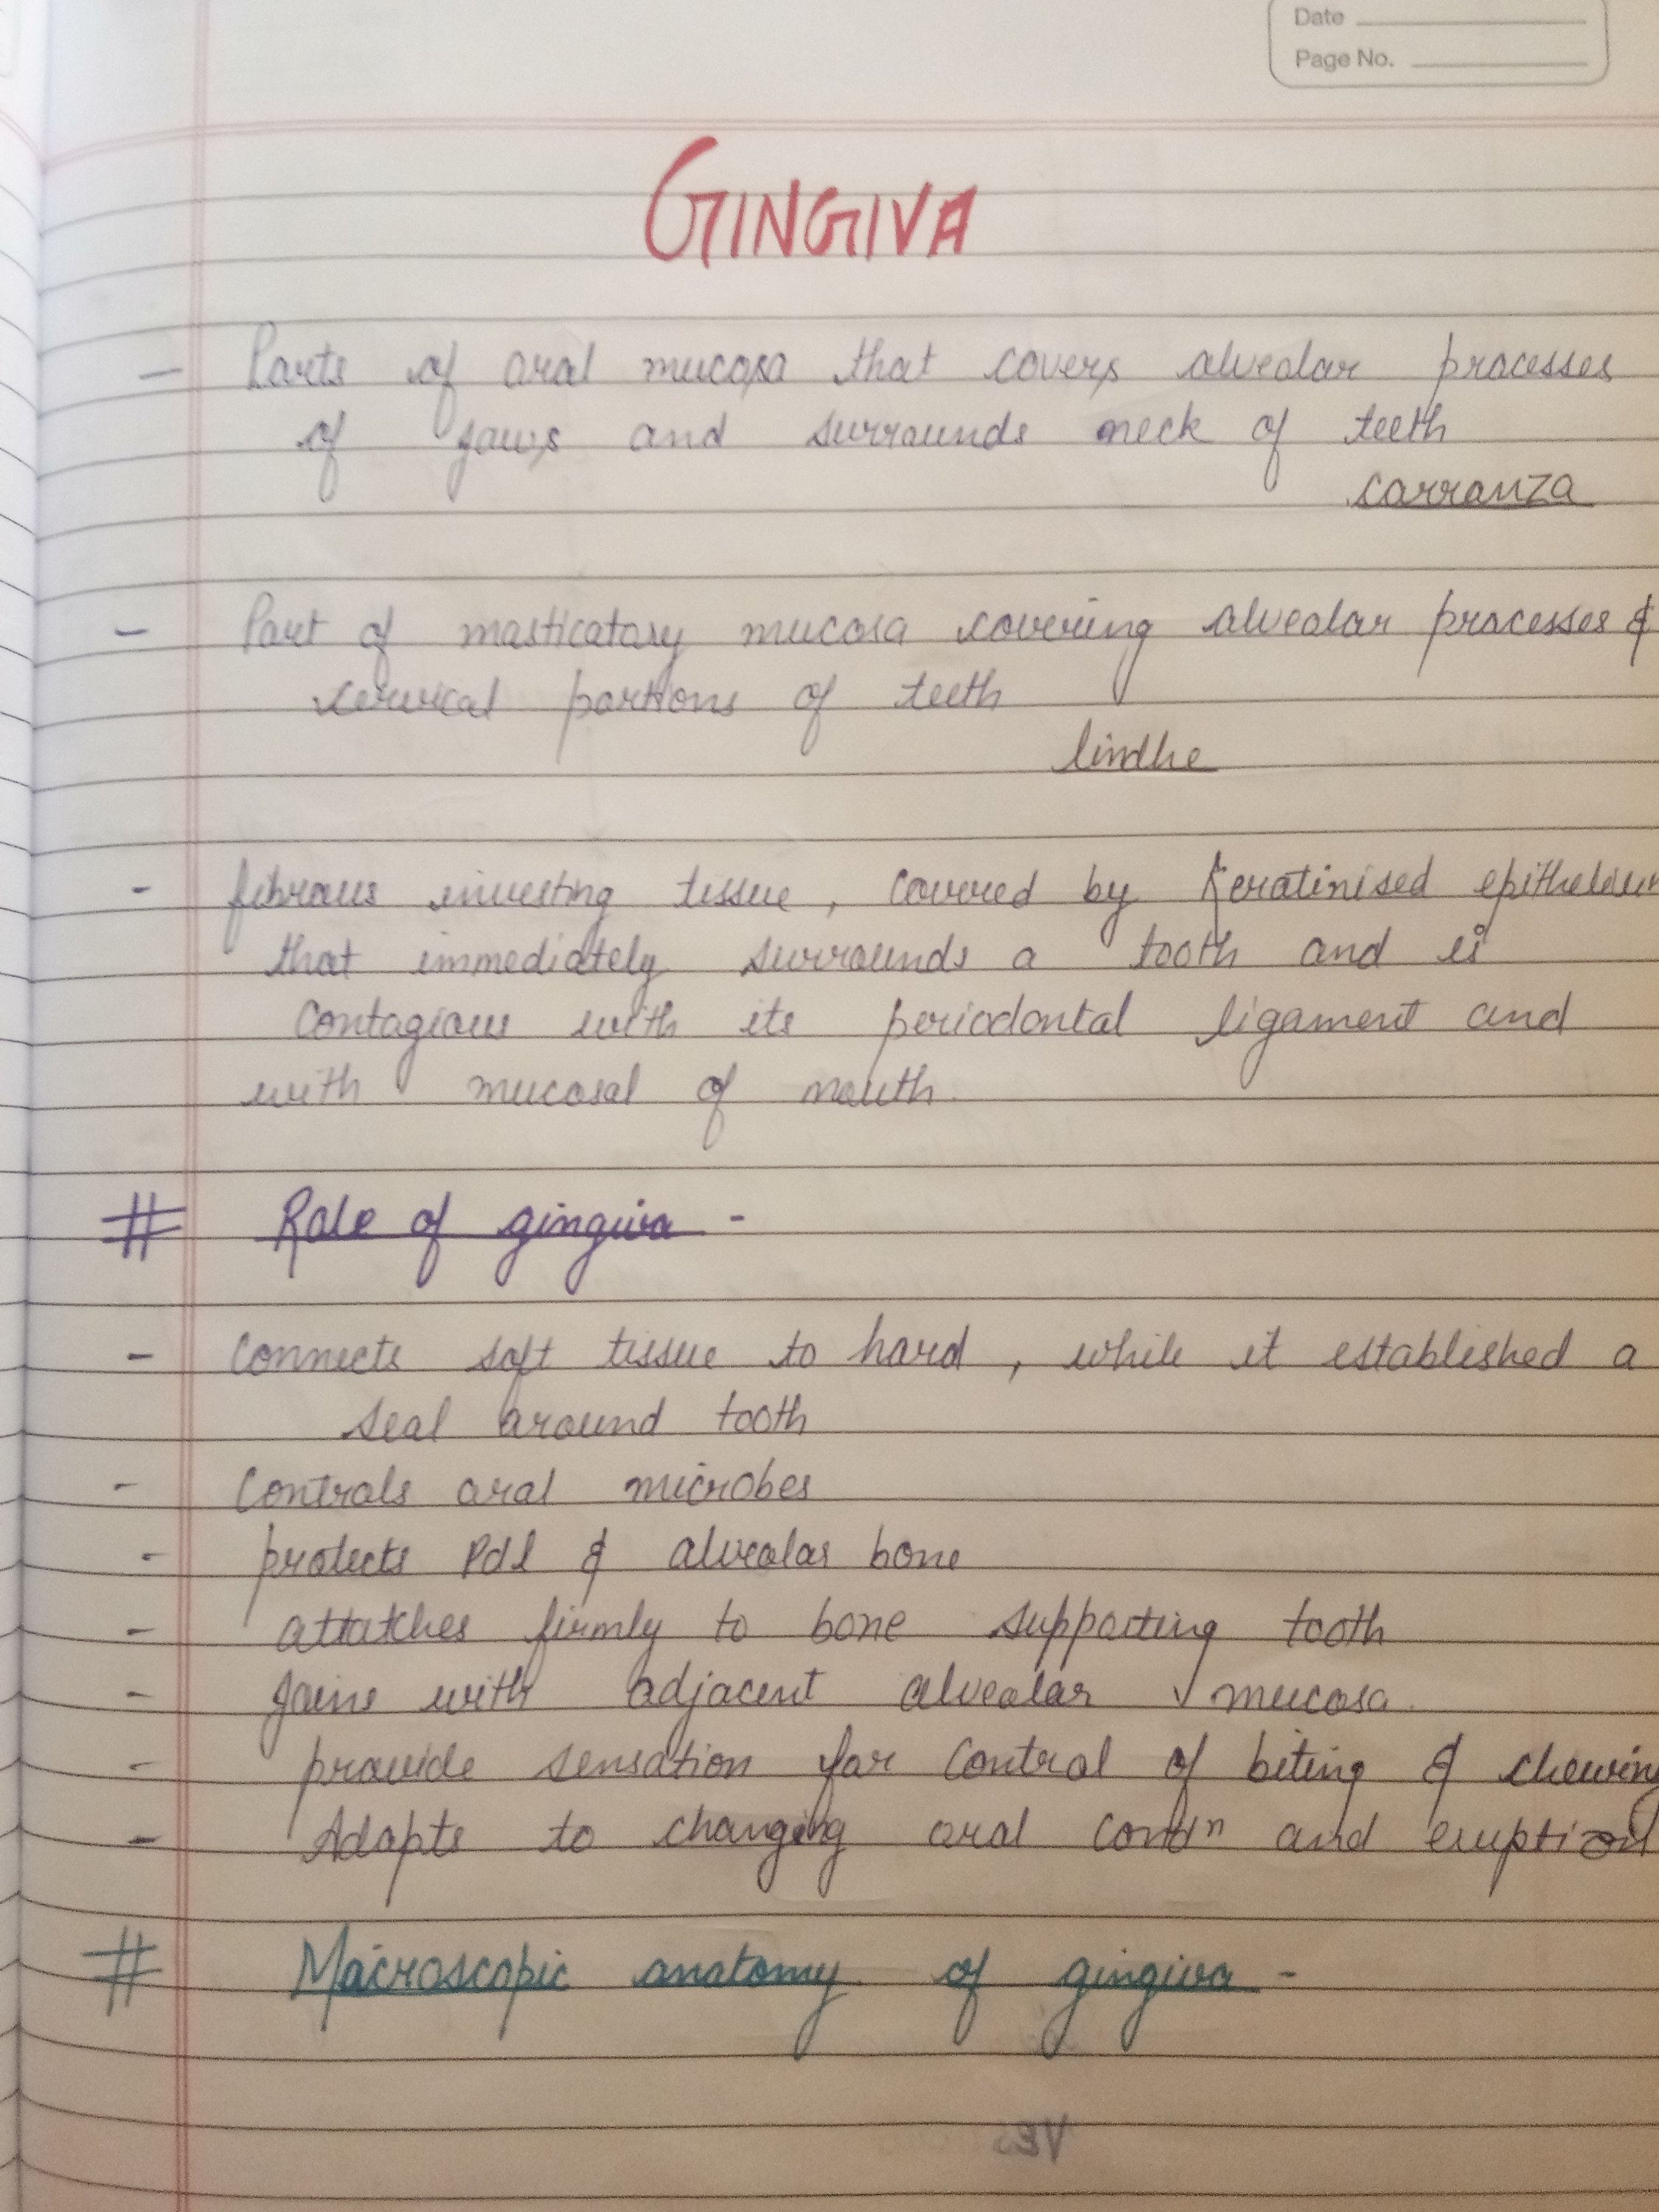
gingiva is anatomical term for gums. found in the oral cavity of human being surrounding part of teeth


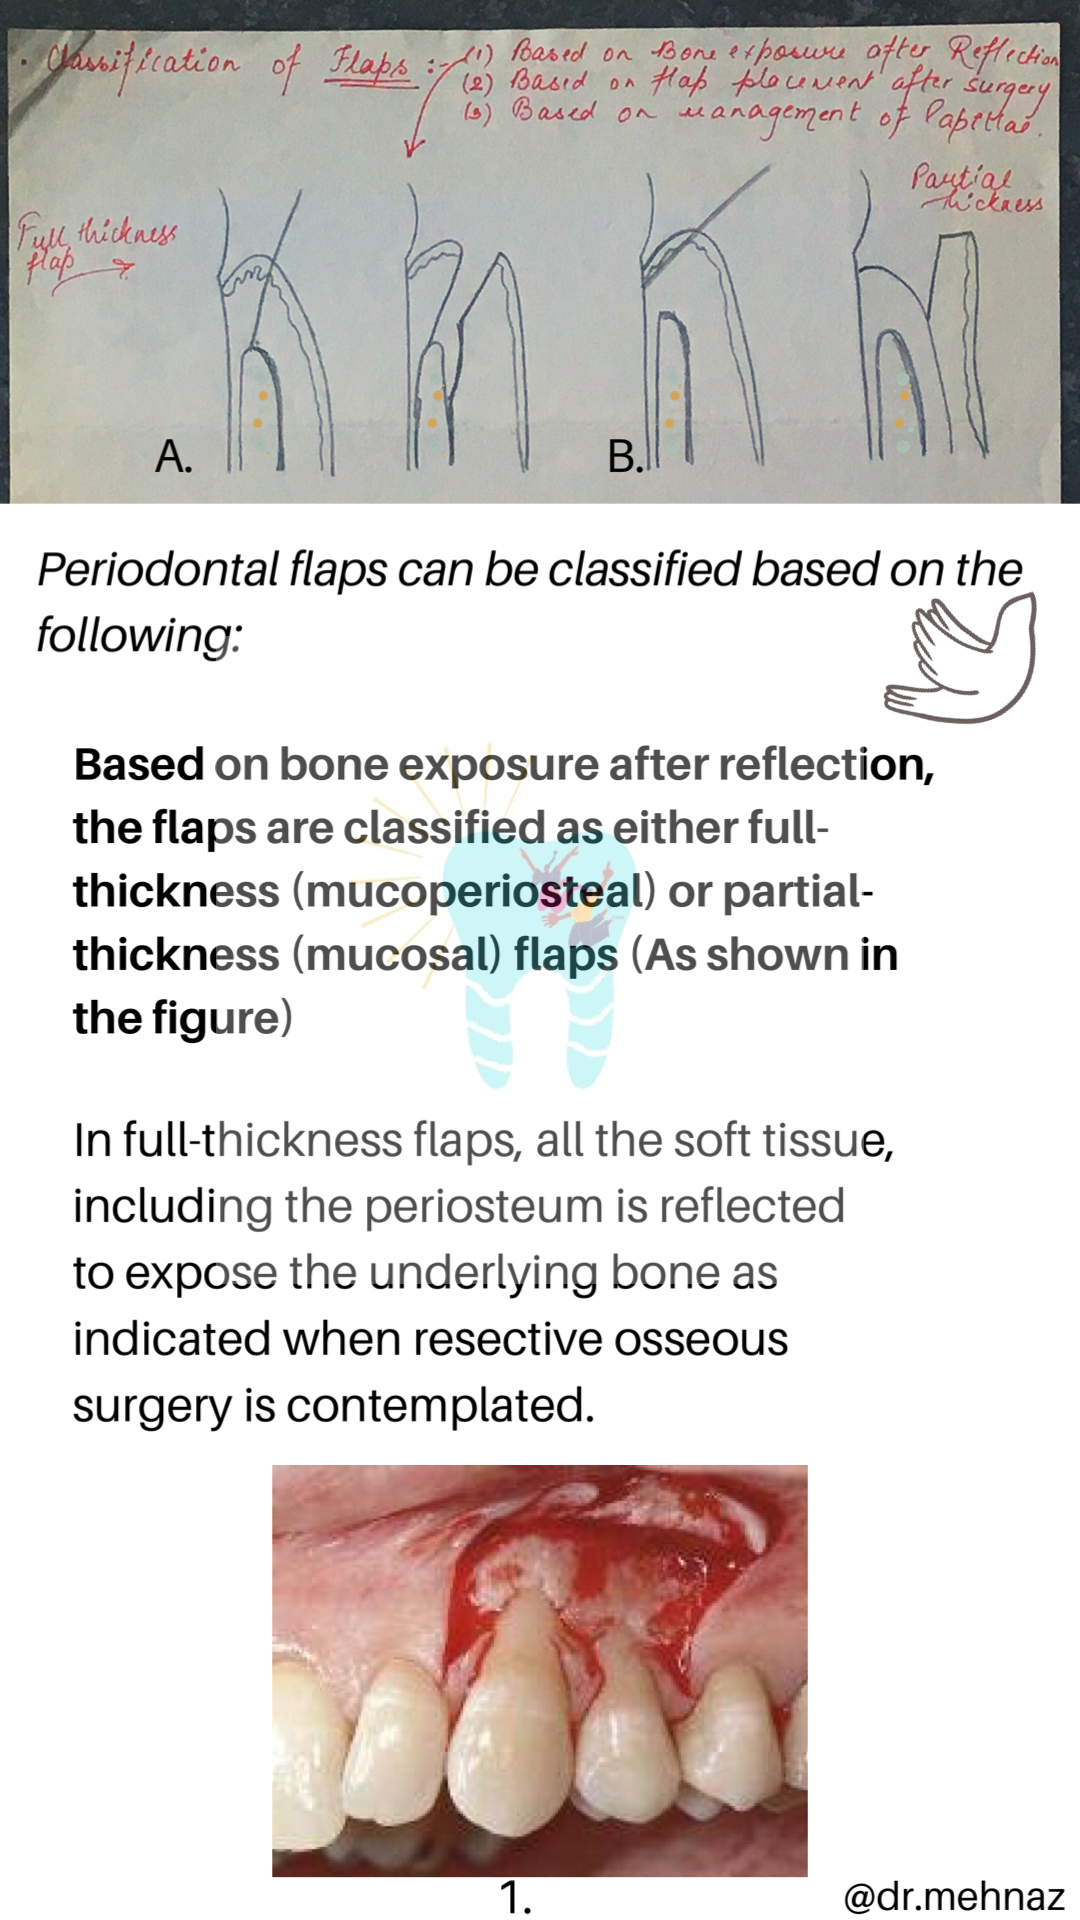
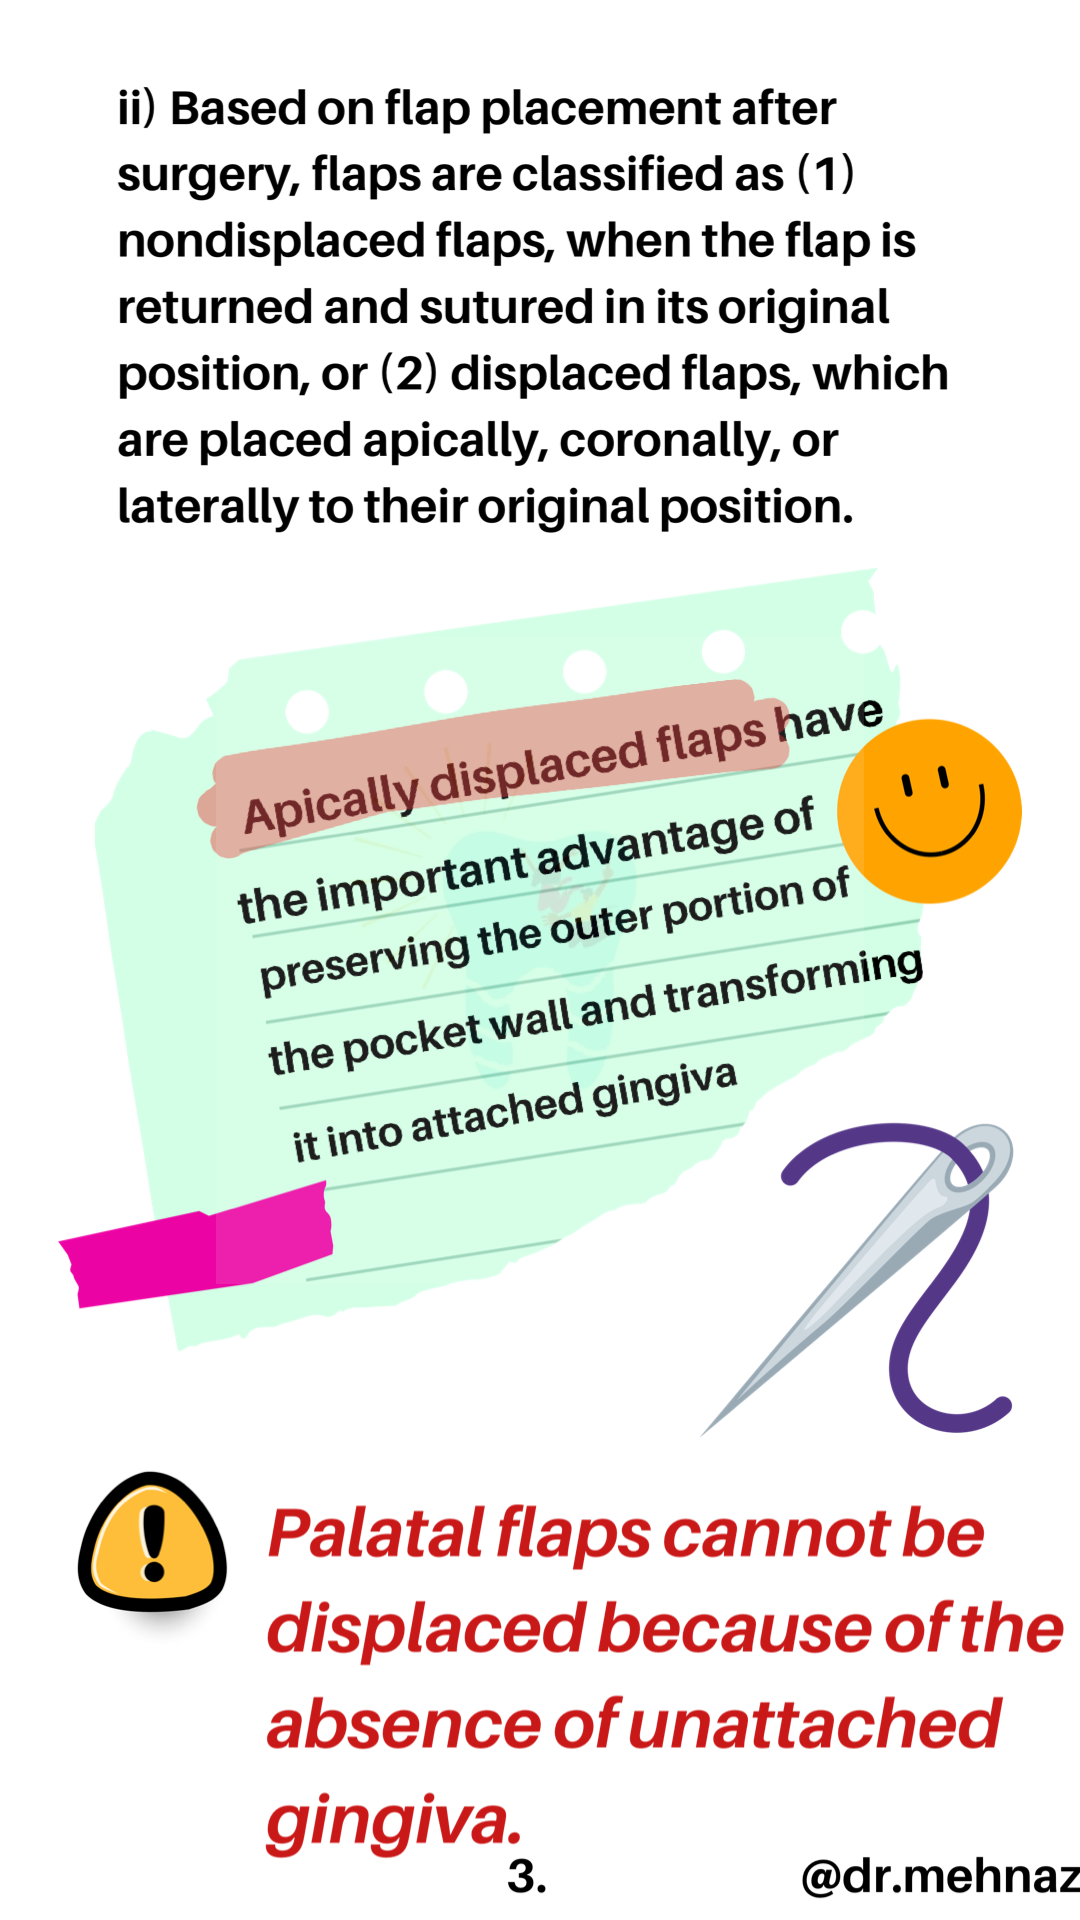
A periodontal flap is a section of gingiva and/or mucosa surgically separated from the underlying tissues to provide visibility of and access to the bone and root surface.
The flap also allows the gingiva to be displaced to a different location in patients with mucogingival involvement.
Source: Carranza’s Clinical Periodontolgy, 10th Ed

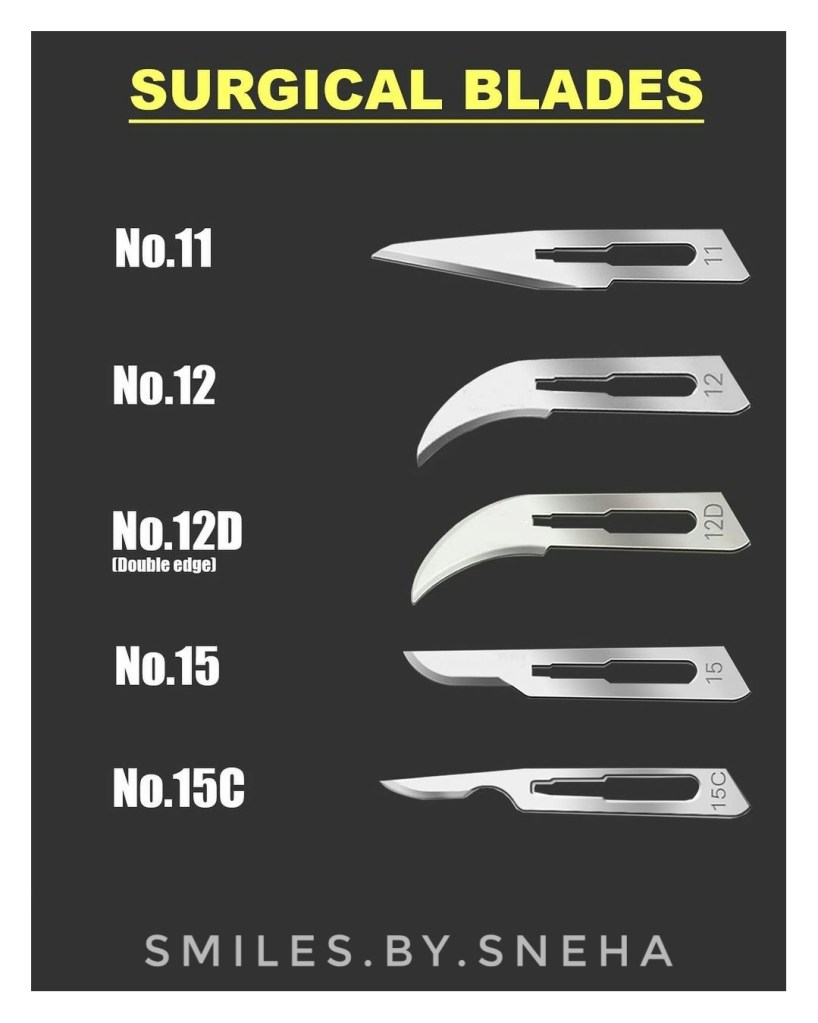
❇️Disposable surgical blades –
💠There are many forms of blades available,regardless, you need to make sure that you have a good access and the blades are sharp before you make any incision .
💠*Blade no. 12 and no.12D are particularly useful at distal incision where you have difficult access, for example distal wedge surgery.
💠Blade no.15c is used in periodontal surgeries as it has an extended cutting edge .
💠Change the blade if it is blunt or you may risk tearing the tissue on flap elevation or creating a jagged incision line.
– by Dr.Sneha poeghal
Reference books – Carranza
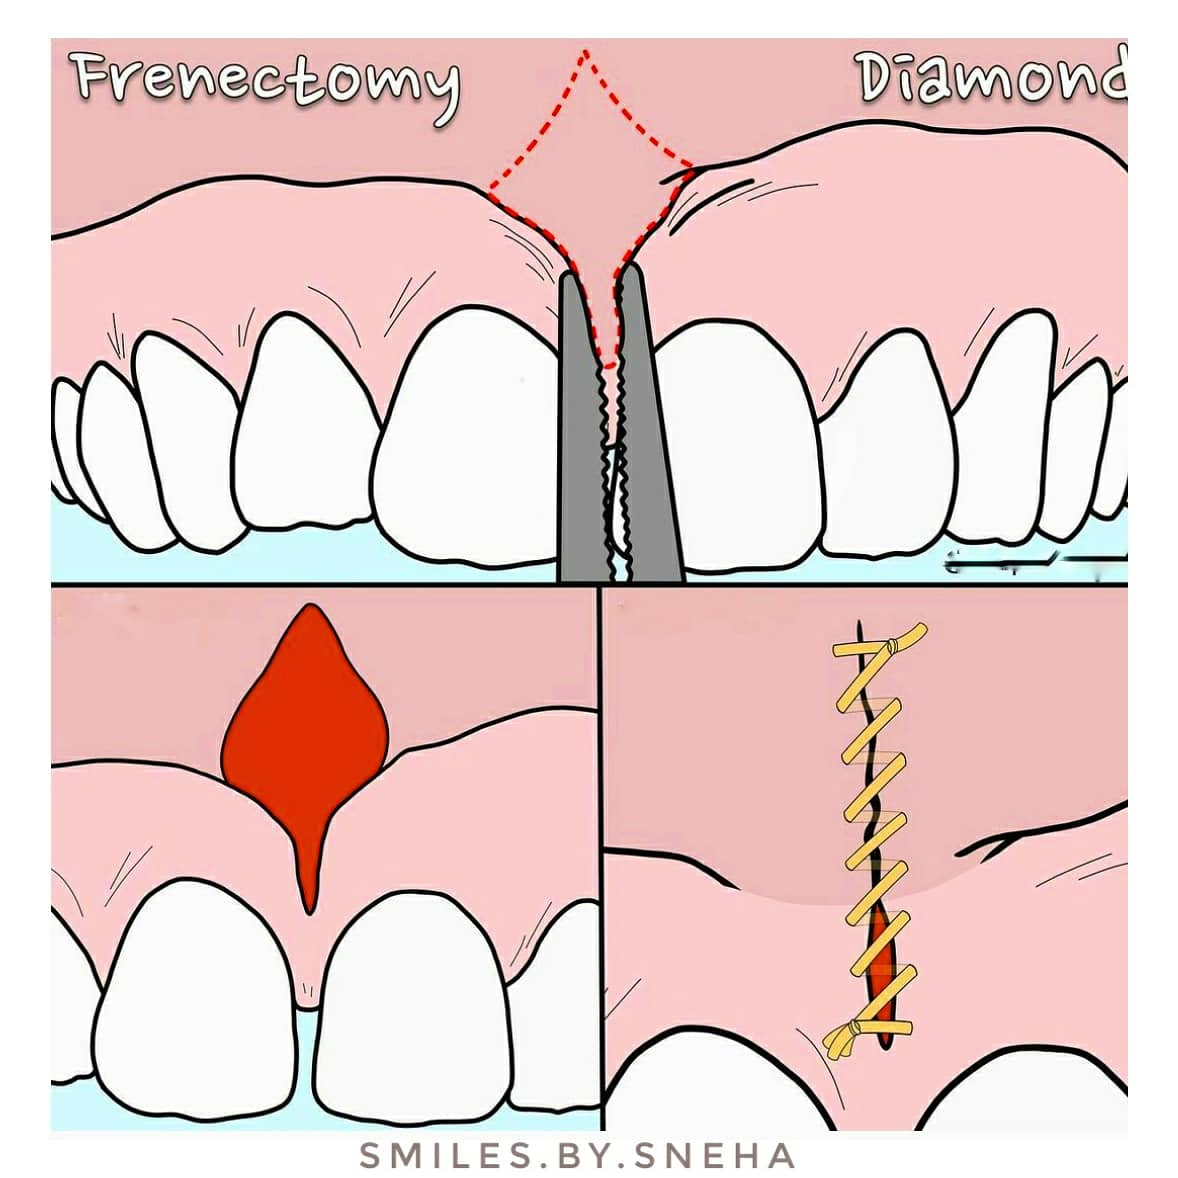
❇️ Frenectomy: The frenum is a normal anatomical structure of the oral cavity but the position of its attachment may characterize it as abnormal, warranting removal.
❇️Clinical findings associated with an aberrant frenum include:
💠Here are some common incision designs used for frenectomy via excision with a scalpel.
✳️ Diamond: This conventional incision design involves a diamond shaped excision of the frenum with blunt dissection to relieve the attachment. The margins of the surgical site are reapproximated in a linear fashion.
✳️ZPlasty: This technique is commonly used for scar removal in plastic surgery. It is indicated for a thick frenum with low insertion. An elliptical excision of the frenum is performed, followed by the creation of two triangular flaps (~60 degree angle) with a “Z” shaped incision, which are transposed to reorient the tissue and achieve primary closure.
✳️VY-Plasty: This V-shaped incision is highly useful for a broad frenum attachment. In this case, the superior margin of the wound is repositioned apically and sutured in a “Y” shape.
– by Dr.Sneha poeghal (BDS) from Mallareddy institute of dental sciences.👩⚕️

Reference books- carranza

The following is a list of techniques used for gingival augmentation coronal to the recession (root coverage):
Indication:
Adjacent to the denuded root surface, the donor connective tissue is sandwiched between the split flap as shown in the figure.
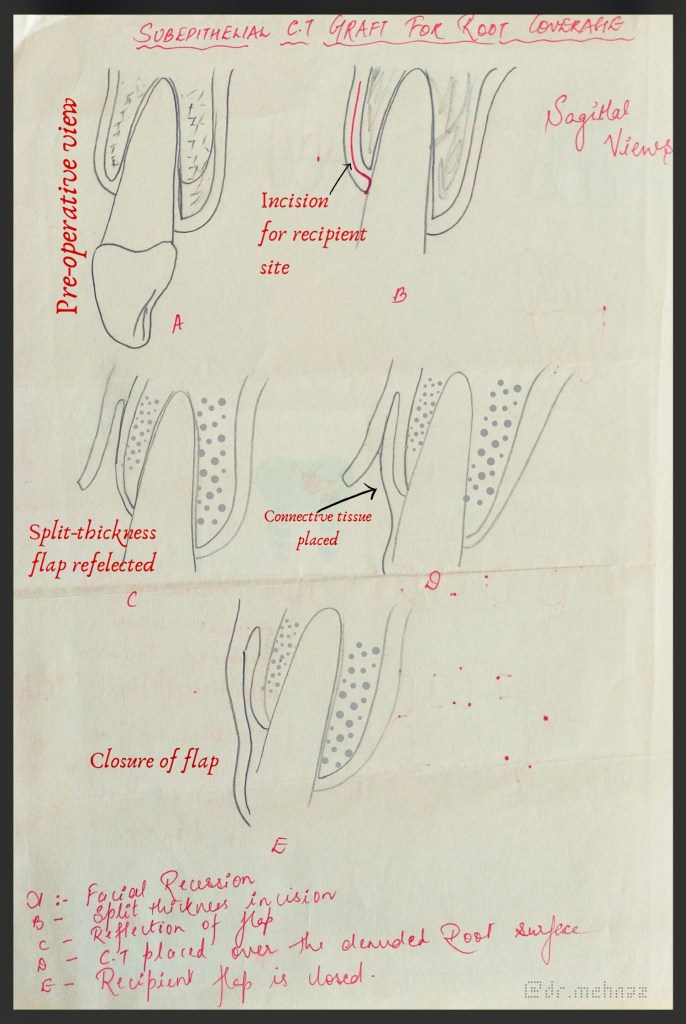

Step 1. Raise a partial-thickness flap with a horizontal incision 2 mm away from the tip of the papilla and two vertical incisions 1 to 2 mm away from the gingival margin of the adjoining teeth.
Step 2. Thoroughly plane the root, reducing its convexity.
Step 3. Obtain a connective tissue graft from the palate by means of a horizontal incision 5 to 6 mm from the gingival margin of molar and premolars. The connective tissue is carefully removed along with all adipose and glandular tissue. The palatal wound is sutured in a primary closure.
Step 4. Place the connective tissue on the denuded root. Suture it with resorbable sutured to the periosteum.
Step 5. Cover the graft with the outer portion of the partial-thickness flap and suture it interdentally.
Step 6. Cover the area with dry foil and surgical pack.
After 7 days, the dressing and sutures are removed. The esthetics are favorable with this technique since the donor tissue is connective tissue.
Dentowesome|@drmehnaz
Source: Carranza’s Clinical Periodontolgy, 10th Ed